目录
编写博客
分类: gitblogTTyb 2019-02-05 915
上一章节已经开发好了一个属于自己的网站,本章节将会涉及如果在网站里面配置博客模板和编写博客。
编写博客
在博客目录下新建一个命名为 _posts 的文件夹,github 默认博客是放在这个文件夹下的,github 会自动解析这个文件夹下的文件,其次再在 _posts 里面新建一个 blogs 文件夹,即新建一个 blogs 的博客分类。最后在 blogs 里面新建文件一个 2019-02-05-firstblog.md 文件,文件名的格式一定是:
年-月-日-文件名.md
文件切记是 以UTF-8无BOM格式编码 ,在文件里面添加如下内容:
---
layout: post
categories: [blogs]
title: firstblog
date: 2019-02-05
author: TTyb
desc: "这是我的第一篇博客"
---

# 这是我的第一篇博客
博客的内容写完了,那么怎么展示呢?这里需要设置一个博客的入口 topic ,以方便显示博客,打开 index.html 将里面改成如下内容:
<!DOCTYPE html>
<html>
<head>
	<meta http-equiv="Content-Type" content="text/html; charset=utf-8">
    <!-- Stylesheets -->
    <link href=https://www.tybai.com/static/css/bootstrap.min.css rel="stylesheet"/>
    <title>TTybTest</title>
</head>
<body>
	<div class="navbar navbar-default navbar-fixed-top" style="background-color:rgba(255, 255, 255, 0.75);box-shadow:0 10px 10px 0 rgba(0, 0, 0, 0.15)">
    <div class="container">
        <div class="navbar-header">
            <a class="navbar-brand brand" href="/">TTybTest|个人网站</a>
        </div>
        <div style="font-family: serif;text-decoration: none;" class="collapse navbar-collapse navbar-responsive-collapse" id = "target-menu">
			<ul class="nav navbar-nav" style="margin: 0 0 0;">
				<li><a class="navbar-brand" href="/topic">文章随笔</a></li>
			</ul>
        </div>
    </div>
	</div>
	我的个人博客
</body>
</html>
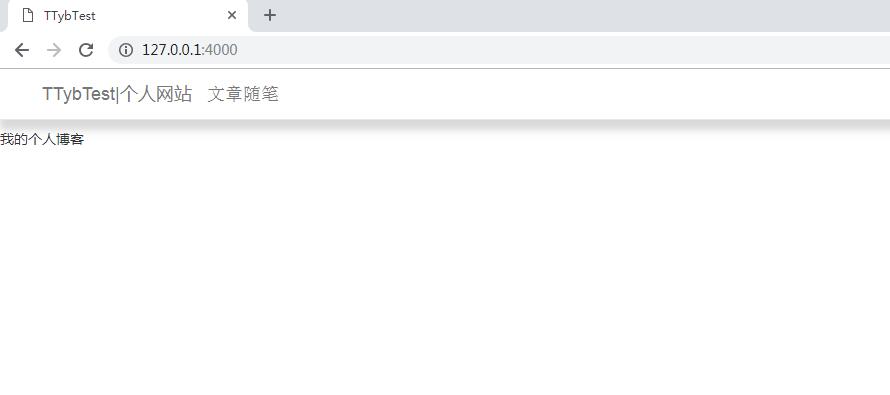
然后在当前目录打开 cmd 调出本地模式 jekyll server ,打开http://127.0.0.1:4000/ 查看本地调试:
在当前目录下新建一个 _layouts 文件夹,里面新建一个 default.html 文件,里面填入如下内容:
<!DOCTYPE html>
<html>
<head>
	<meta http-equiv="Content-Type" content="text/html; charset=utf-8">
    <!-- Stylesheets -->
    <link href=https://www.tybai.com/static/css/bootstrap.min.css rel="stylesheet"/>
    <title>TTybTest</title>
</head>

<body>
    {{ content }}
</body>
</html>
最后在根目录下新建一个 topic.html 文件,用以放博客的页面,里面填入如下内容:
---
layout: default
---
<div>
	{% for post in site.posts %}
		<h3><a href="{{ post.url | prepend: site.baseurl }}">{{ post.title }}</a></h3>
	{% endfor %}
</div>
可能很多读者会有点乱,目前我们博客的目录结构如下所示:
--- TTybTest
    .git
    --- _layouts
        default.html
	--- _posts
	    --- blogs
		    2019-02-05-firstblog.md
	.gitignore
	index.html
	README.md
	topic.html
如果不清楚的可以按照如上目录以此建立文件和文件夹,并把相关的内容复制进去,最后打开http://127.0.0.1:4000/ 查看本地调试,点击进入 文章随笔 可以看到如下内容:
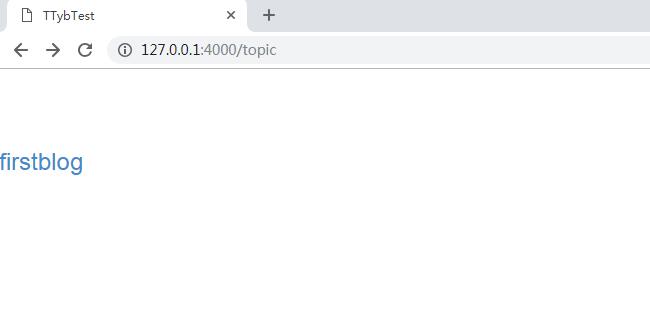
点击 firstblog 进去,能看到之前写的博客 2019-02-05-firstblog.md :
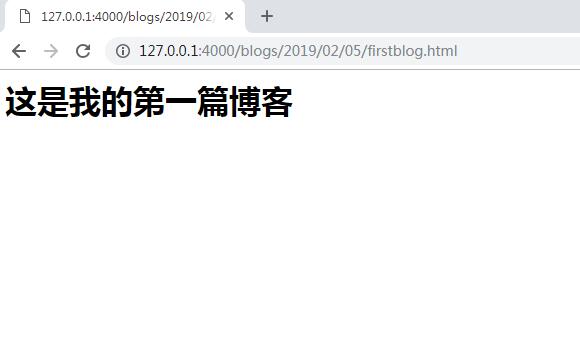
这样子就算吧博客放到了专门放博客的 _post 文件夹里面了,这个文件夹是 gitblog 默认的放博客的文件夹,博客文本以 .md 结尾,以后的博客文本都会放到这里面。
博客模板
很多读者可能会注意,上文建立的 _layouts 文件夹和 default.html 是干什么,这个其实是博客的模板。可以注意到在 index.html 和 topic.html 文本里面都有这样的开头和结尾:
<!DOCTYPE html>
<html>
<head>
	<meta http-equiv="Content-Type" content="text/html; charset=utf-8">
    <!-- Stylesheets -->
    <link href=https://www.tybai.com/static/css/bootstrap.min.css rel="stylesheet"/>
    <title>TTybTest</title>
</head>

<body>
    ......
</body>
</html>
这个模板是为了防止过多写入重复的内容跟而造成累赘,因此我们可以注意到在 topic 里面加入了模板,即在文本内容的开头调用 default 模板:
---
layout: default
---
而 default 里面的 {{ content }} 也就是套用模板后想要放入的内容。
现在既然已经有了模板,那么可以把 index.html 里面的网页头部也调用模板信息,编辑打开 index.html 文件,加入模板后如下所示:
---
layout: default
---

<div class="navbar navbar-default navbar-fixed-top" style="background-color:rgba(255, 255, 255, 0.75);box-shadow:0 10px 10px 0 rgba(0, 0, 0, 0.15)">
<div class="container">
	<div class="navbar-header">
		<a class="navbar-brand brand" href="/">TTybTest|个人网站</a>
	</div>
	<div style="font-family: serif;text-decoration: none;" class="collapse navbar-collapse navbar-responsive-collapse" id = "target-menu">
		<ul class="nav navbar-nav" style="margin: 0 0 0;">
			<li><a class="navbar-brand" href="/topic">文章随笔</a></li>
		</ul>
	</div>
</div>
</div>
我的个人博客
成功加入模板!
本章节的课程文件可以在如下地址下载: